
The Page Title Widget lets you add a title to your website page and edit the design of the page title. Watch the video below for a quick overview of how to use the Page Title Widget, and read below for more detailed instructions and for information on settings.
To add a Page Title Widget to your website:
- Click on the WIDGETS button in the Website Editor Toolbar.
- Browse the Widgets tab to locate the Page Title Widget in the BASICS section.
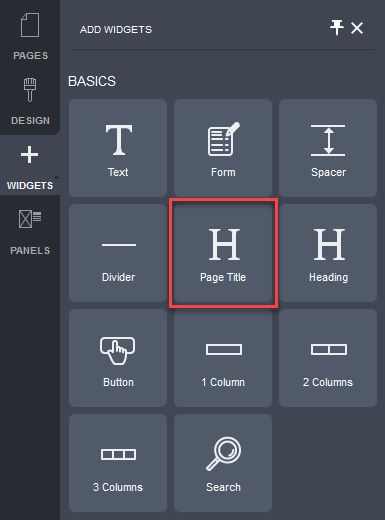
- Click and drag the Page Title Widget onto your website page.

The widget will automatically be populated with the default page title (the name specified for the page in the Pages tab).
The Page Title Settings popup will be displayed.

- Optionally, untick the Automatic Title checkbox to change the page title.
- Click on Edit Link to specify a link for the page title.
The link options popup will be displayed.
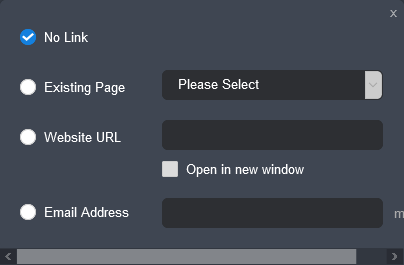
- No link: select this option if you do not want to set a link for the page title.
- Existing Page: lets you select a link to an existing page on your website.
If you select "Decorated Products" or "Products", a dropdown field will be displayed allowing you to select a product category to link to.

- Website URL: lets you specify a URL to link to an external website.
- Email Address: lets you specify an email address to create a mailto link. This will activate the default mail client on the computer for sending an email to the specified address.
- Add a description for the page using the Description rich text editor.
- Click OK to save the changes.
- Click on the Save button and then click on the Publish button at the right of the Page Settings Bar.
To edit the Design settings for the Page Title Widget:
- Mouse over the widget.
The widget's controls will be displayed.
- Click on the down arrow beside the Page Title Widget icon.
- Choose the Page Title Settings item from the drop-down menu.
The widget Settings popup will be displayed.

- Select from one of the pre-configured Page Title Layout options.
- Select the font family from the dropdown list.
- Click on the Color spot to edit the page title color using the Color popup. Click here for instructions.
- Configure the rest of the Design settings as required.
- Size: sets the size of the font in pixels.
- Line Height: sets the line height of the text as a factor of the current font size.
- Weight: sets how thin or thick the characters of the text should be displayed at.
- Italics: displays the font in italics if the checkbox is ticked.
- Small Caps: sets all letters to lower-case if the checkbox is ticked.
- Spacing: sets the letter spacing of the font as a factor of the current font size.
- Decoration: sets the appearance of the decorative line, if any, added to the text.
- none: no line is added.
- underline: adds a 1-pixel line across the baseline of the text.
- overline: adds a 1-pixel line across the top of the text.
- line-through: adds a 1-pixel line across the middle of the text.
- Transform: sets the capitalization style of the text.
- none: leaves the text exactly as it was entered.
- capitalize: capitalizes the first letter of each word.
- uppercase: makes all letters uppercase.
- lowercase: makes all letters lowercase.
For the Size, Line Height and Spacing properties, you can use the slider to configure the setting.

The slider will appear when you hover your mouse anywhere along the line between the label and the input field of the property.
- Click OK, once you have finished configuring the settings.
- Click on the Save button and then click on the Publish button at the right of the Page Settings Bar.
Still have questions? Use the Search Tool at the top of the page to find more related guides. Need help? Click the icon to submit a support ticket – our Client Services team is ready to assist!
Comments
0 comments
Please sign in to leave a comment.