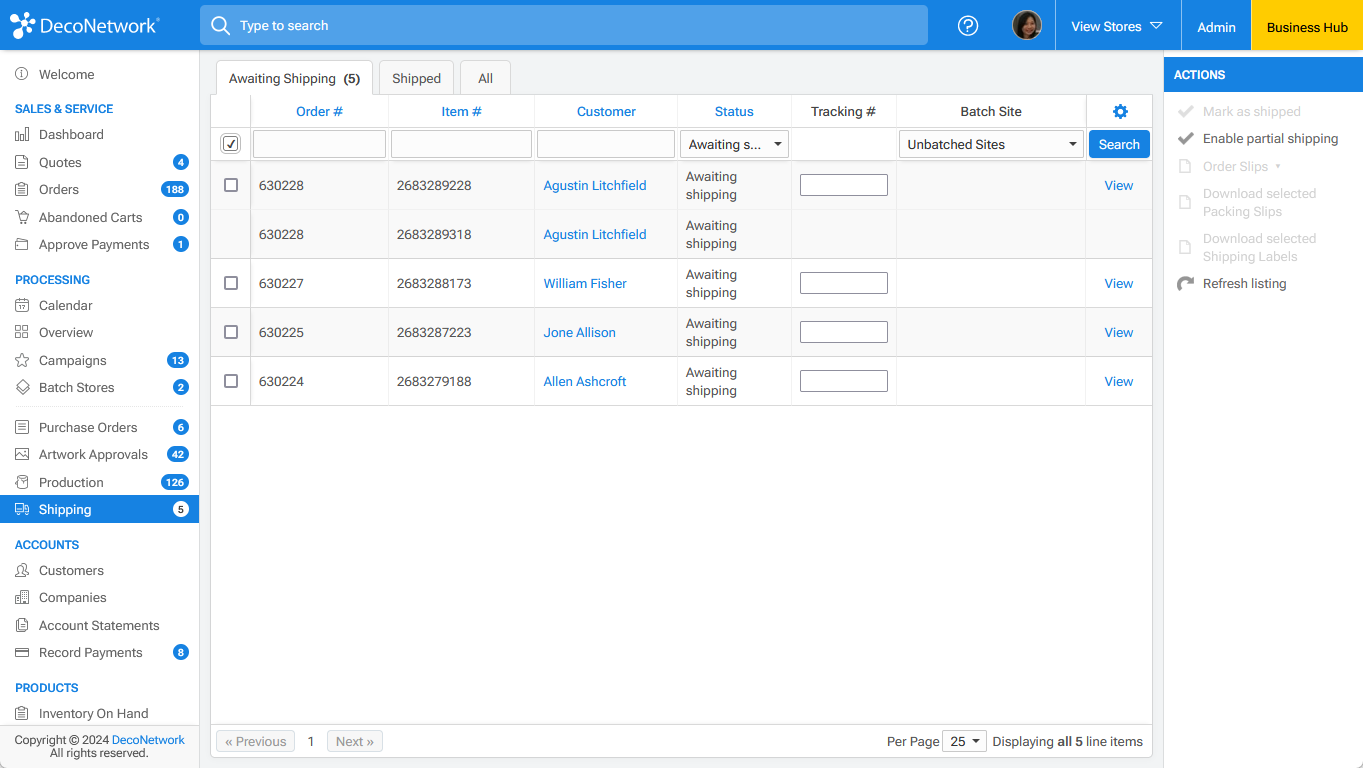
The Shipping List in DecoNetwork is where you can view and manage orders that are ready to be shipped. It provides a convenient way to organize and process multiple orders simultaneously, saving you time and effort in your day-to-day operations. Orders automatically flow through to the Shipping page when production is complete so that you can easily see orders that need to be shipped. This guide aims to provide you with a comprehensive understanding of the Shipping List interface in DecoNetwork. For instructions on how to mark an order as shipped, download a packing slip, and other shipping actions, see the relevant help article under the Shipping section.
Prerequisites
- You must have Administrator, Production Manager, or Shipping permission to use this feature
In this article...
- To view your shipping list
- To view an order ready for shipping
- To customize the fields displayed for your orders waiting to be shipped
- Sorting orders waiting to be shipped
- Searching for orders waiting to be shipped
To view your shipping list:
- Log into your DecoNetwork website.
- Browse to Business Hub > Shipping.
The main work area shows the orders that are ready to be shipped, listed in a table.
To view an order ready for shipping:
- Log into your DecoNetwork website.
- Browse to Business Hub > Shipping.
The main work area shows the orders that are ready to be shipped.
- Click View to load the order you want to view.
The shipping page for the order is loaded main work area.
To customize the fields displayed for orders waiting to be shipped:
You can customize the information displayed in the Shipping List by choosing which fields you want to be shown in the table.
- Click on the gear icon in the last cell of the header row.
The table of order fields is displayed.
- Tick the checkboxes for the fields you want to be displayed and un-tick the checkboxes for the fields you do not want to be displayed.
Fields
- Preview: a thumbnail preview of the line item.
- Order #: the unique identifying number of the order.
- Priority Order: the priority status of the order - "yes" or "no".
- Source: the source the order originated from - BH or Internet.
- Item #: the unique identifying number of the line item.
- Job Name: the job name specified for the order, if any.
- Customer PO Number: the purchase order number provided by the customer, if specified.
- Due Date: the date on which production of the order is due to be completed.
- Order Date: the date on which the order was placed.
- Schedule Date: the date on which production of the order is scheduled to begin.
- Produced Date: the date on which the line item was produced.
- Customer: the full name of the customer.
- Company: the customer's company name, specified for billing, if it has been provided.
- Status: the shipping status of the order.
- Product Group: the product group to which the line item belongs.
- Qty: the total quantity of items ordered,
- Qty Produced: the number of items produced.
- Qty Shipped: the number of items shipped.
- Processes: the codes of the processes used to produce the order.
- Store: the store from which the order originated.
- Product Code: the unique code of the line item.
- Ordered Product: the name and quantity ordered of the line item.
- Extra Options: the name of the extra option applied to the line item, if any.
- Color: the color of the line item,
- Shipping Method: the method of shipping chosen for the order.
- Click okay.
Sorting orders waiting to be shipped
By default, orders waiting to be shipped will be sorted by the order number, starting with the latest number to the earliest. You can change how the shipping list is sorted by clicking on any of the enabled field names (highlighted in blue) in the header row.
An initial click on a particular field name will cause the list to be sorted by that field, in descending order. Clicking on the same field name again will cause the list to be sorted by that field in ascending order.
The current sort field will be indicated by the field name cell being filled with a gray background. The current sort order will be indicated by a down arrow or an up arrow after the field name. A down arrow indicates descending order and an up arrow indicates ascending order.
Searching for orders waiting to be shipped
You can search for particular orders waiting to be shipped using any of the active fields in the table. Search for orders by typing or selecting a value in one or more of the fields in the row directly below the header row and then clicking on the Search button at the end of the row.
You can quickly reset the search fields by holding down the Shift + Alt (Shift + Opt on macOS) keys. Holding down these keys will turn the Search button into a Clear Search button. Click on the Clear Search button while continuing to hold down Shift + Alt (Shift + Opt on macOS) to clear the filters and return the orders list to an unfiltered list.
Text Search Fields
Text fields are indicated by a blank box. To search using a text field, click inside the box and enter the string that you want to search for.
Drop Down List Search Fields
Dropdown list search fields have a down arrow icon at the right of the field box. Click on the button and select an option from the drop-down list to search for orders with the selected value.
Value Range Search Fields
Value range search fields require To and From values to be entered as part of the search criteria. Value range search fields have a small black triangle in the bottom-right of the search box.
To search using a value range search field:
- Click within the field box
A popup is displayed, containing To and From fields
- Enter values in the To and From fields
- Click okay
Date Search Fields
Date search fields also have a small black triangle in the bottom-right of the search box.
To search by date:
- Click within the date field box
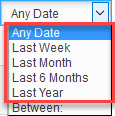
A popup is displayed, containing a drop-down list with date filter options
- Select a specific date filter option within which you want to search orders

OR
- Select "Between:" to specify a custom date range
- Click on the calendar icon
 in the From field, select a date using the Date Picker tool, and then click OK when you have picked the desired date. Do the same for the To field.
- Select "Between:" to specify a custom date range
- Click okay.

Comments
0 comments
Please sign in to leave a comment.