
You may need to import inventory levels you have been recording in an external system when you first initialize inventory management in DecoNetwork. You may also need to do an inventory level import to update inventory levels in DecoNetwork following a stock take, change of stocked items, or any other event that significantly changes the amount of stock you are carrying.
Prerequisites
- You must have administrator access to use this feature
First, export your present inventory levels
This step may be skipped if you are already versed in inventory level imports, however, if this is your first time attempting an import it is wise to back up your present levels through an export, save a copy of that export, then modify the export file with your inventory levels. Finally, you can then proceed to import those levels into DecoNetwork. Of course, you may have already completed some of these steps. If so, skip ahead as appropriate.
To set up the export
- Log into your DecoNetwork Website.
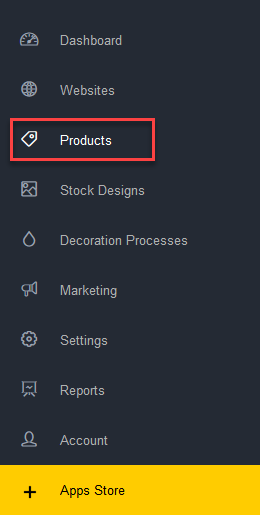
- Browse to Admin > Products.

- Tick the checkboxes to select the products you wish to export.
- From the Bulk Action dropdown box, select Export Inventory Levels.
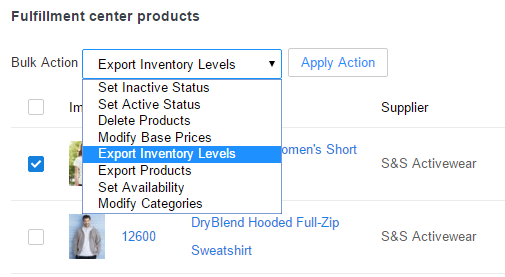
- Click the Apply Action button.
Depending on your browser settings, the file, supplier_product_inventory.csv, will be immediately downloaded to the default download location on your computer or you will be prompted to choose a download location.
Second, edit the downloaded CSV file to match your inventory levels
Key data fields are:
- Supplier Product Identifier, Product Name, Product Code, Color, Size, Sub Size, SKU, GTIN; use these to identify which specific product has an inventory level.
- Stock Item must be set to 1 (true) for inventory to be tracked in DecoNetwork.
- Inventory Location is the coordinate number of the storage bin where the item is located.
- Inventory on Hand is how much stock you presently have.
- Low Stock Warning is the point at which you are alerted to diminishing stock levels.
- Reorder to Level is the inventory level you wish to have in stock.
- Brand is the name of the brand the product belongs to.
Third, import the inventory levels
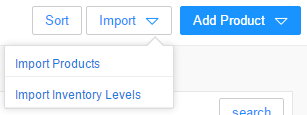
- Click Import, then click Import Inventory Levels.
- Click Start New Import to launch the import wizard.

- Name the import and click Next.
- Click on the Browse... button.
- Select and open the CSV file you want to import. This should be the one you just edited in the second step.
- Click on the Upload button.
- If the Uploaded files are OK, click Next.
- Review the changes. When ready, click Next.
- Review the inventory update date. When ready, use the breadcrumb to navigate back to the Products page. Review the products that have been updated and ensure your product levels are as you expect.
Comments
0 comments
Please sign in to leave a comment.