
Categories are a logical division of your products typically into like groupings. For example, shirts, jumpers, and pants are 3 possible categories. You have control over what category manually-added products are assigned to. While all catalog products are assigned a category as they are entered into DecoNetwork via a catalog automatically, you will also be able to rearrange their category to better suit your business.
This article describes the tools for managing your product categories and assigning categories to products.
Prerequisites
- You must have administrator access to use this feature
In this article, you will learn how...
To manage product categories:
- Log into your DecoNetwork Website.
- Browse to Admin > Products.

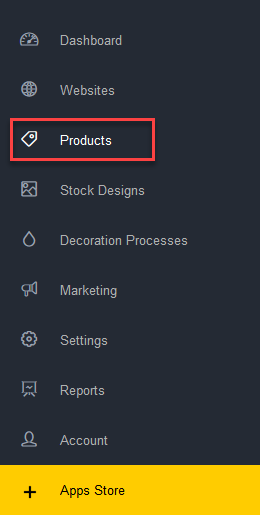
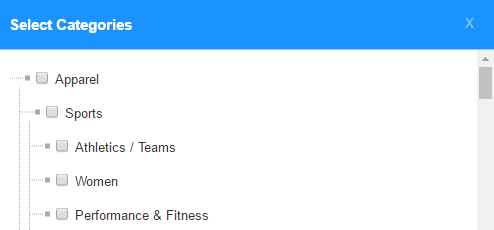
The product list will be shown in the main work area, with the categories presented in a tree view at the left.
The tree view is used to manage the product categories. A tree view is a graphical control that represents a hierarchical view of the category structure.
The controls available for managing your decorated product categories are located in a toolbar above the category tree view.
- Configure the categories as required.
To modify a product category, select it and click on the required toolbar button.
-
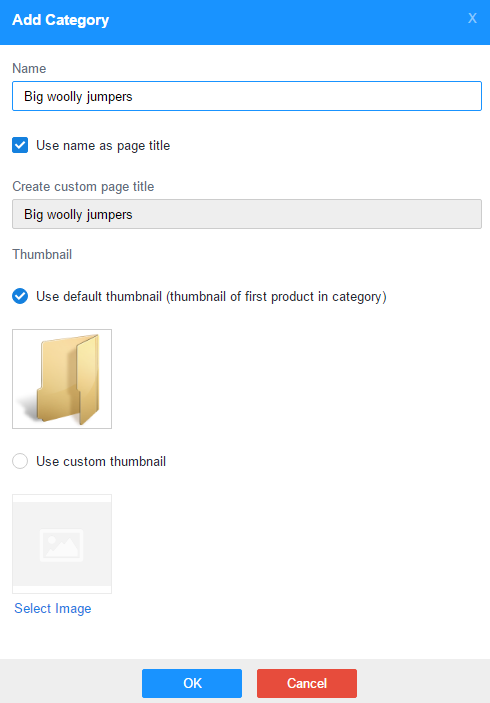
Add will create a new category that is added to the bottom of the categories list. When adding a category, you will decide on its name and choose the thumbnail image that will be used to represent it.
- Dragging and dropping a category will move it to a new location within your category structure.
- Delete will remove the category. For this to succeed you must first delete or move products out of that category.
-
Edit will let you edit the category name and description and change the image thumbnail for the category. It will also let you specify unique meta title, keyword, and description tags for the category. Clicking on the Edit button will load the Edit Category popup. The popup will contain two tabs; Category Details and Meta Tags.
Category Details
- Name lets you specify the category name.
- Category Description lets you write a description for the category using a rich text editor. The description will be displayed on the page for this category in the online store.
-
Thumbnail lets you choose a thumbnail image to be displayed for the category in the online store:
- Use default thumbnail (thumbnail of first product in category) will use the sales image of the first product contained in that category. If no products exist in the category yet, a folder image will be used.
-
Use custom thumbnail lets you choose a custom image for the category.
- Select Image lets you upload a new image for the category. Clicking on this link will load the File Upload dialog.
Meta Tags
Meta tags are snippets of text that provide information to search engines about the content of a page. The meta tags do not appear on the page itself, but only in the page's code.
-
Use name as page title, when ticked, will use the category name as the title for this category's page in the online store.
- Create custom page title will allow you to enter a different name for the category page if the "Use name as page title" checkbox is un-ticked.
- Meta Keywords are used by some search engines to identify the topic and content of a page. Enter the keywords that you want the category to be searchable by in this field.
- Meta Description will appear in the preview of most search results and provide potential visitors with a short description of your product category page. Enter the description that you want to be displayed in the search results for this category's page.
-
Meta Index lets you choose whether or not you want search engines to include the page for the selected category in search results.
- Use page default will use the default indexing option for the Products page. The default is set via the Website Editor under Advanced Settings > Meta Tags.
- Allow search engines to index this category will allow search engines to discover this category page and store information from the page within an organized database called an index. When indexed, the category page will be returned in the search results if the content on the page is relevant to the search topic.
-
Prevent search engines from indexing this category will cause a "noindex" meta tag to be included in the HTML code for the category page to prevent the category page from appearing in the search engine's search results.
Noindex is useful for preventing duplicate content in category pages from coming up in the search results for your site.
-
Add Divider will let you insert a horizontal tab that you can use to separate categories into sections. Clicking on the button will open the Add Category Divider popup, allowing you to specify a name for the divider.
The divider will be added to the bottom of the categories list. You can drag and drop the divider to move it to a new location within your category structure.
To delete a divider, select the divider, then click on the Delete button in the Categories toolbar.
-
Add will create a new category that is added to the bottom of the categories list. When adding a category, you will decide on its name and choose the thumbnail image that will be used to represent it.
- Click Save or Save and Continue when done.
To assign a category to a product:
- Log into your DecoNetwork Website.
- Browse to Admin > Products.
- Select a product to configure by either:
- Clicking on the product code.
- Clicking on the product name.
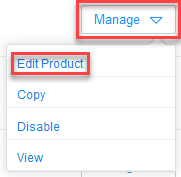
- Clicking on the Manage button beside the product you want to configure, then selecting Edit Product.
The product properties will be shown in the main work area, with a menu at the left to select property categories. General will be selected by default.
- Select Categories from the product properties menu.

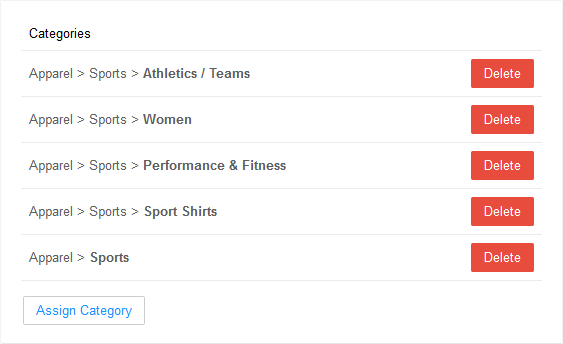
The main work area contains the list of existing category assignments for the product.
- Configure the settings as required.
- The Assign Category button will let you assign a new category to the product, from the list of existing categories that have already been defined.
- As a product can belong to more than one category, you also have the option of removing the category from a product by pressing its corresponding Delete button.
- The Assign Category button will let you assign a new category to the product, from the list of existing categories that have already been defined.
- Click Save or Save and Continue when done.
Comments
2 comments
how do you remove a divider? There are no instructions and I can't click on it and hit delete.
Hi Kyheka,
The Delete button in the toolbar should become enabled when you select the divider. Is it not doing so on your site? Or are you attempting to delete the divider by hitting the Delete key on your keyboard? The Delete button on the keyboard will not delete the divider. You must use the button in the toolbar. Can you please raise a support ticket so that we can investigate your site specifically if the Delete button is not enabling.
Please sign in to leave a comment.