The Countdown Widget lets you add a countdown clock to your website. You can set it to countdown to important dates and events, such as store opening, store closing, product launches, and holiday sales. You can specify store close and open dates via website store-level settings > Store Configuration > Close Store Options. Click here for information about store close options.

The countdown clock will show the days, hours, minutes, and seconds left until the Countdown date. If you have specified a Store Close Date, this will automatically be set as the Countdown Date by default.
To add a countdown clock to your website:
- Click on the WIDGETS button in the Website Editor Toolbar.
- Browse the Widgets tab to locate the Countdown Widget in the ADVANCED section.
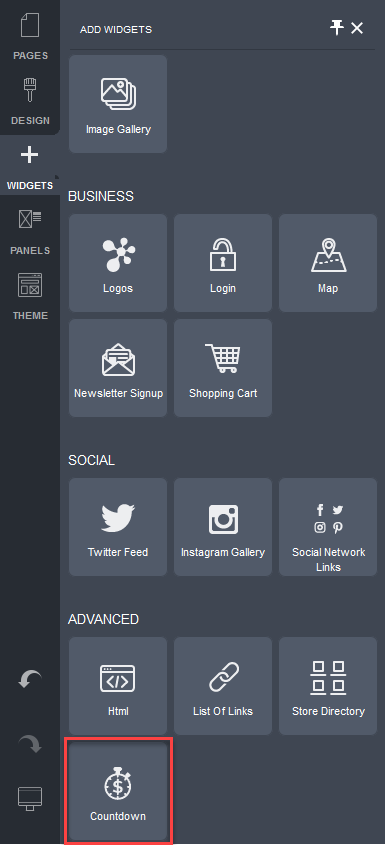
- Click and drag the Countdown Widget onto your website page.
Allowable areas the Countdown Widget can be inserted into include:
- Within rows
- Within columns
- Above or below existing widgets
The Countdown Settings popup will be displayed with the Settings tab selected.
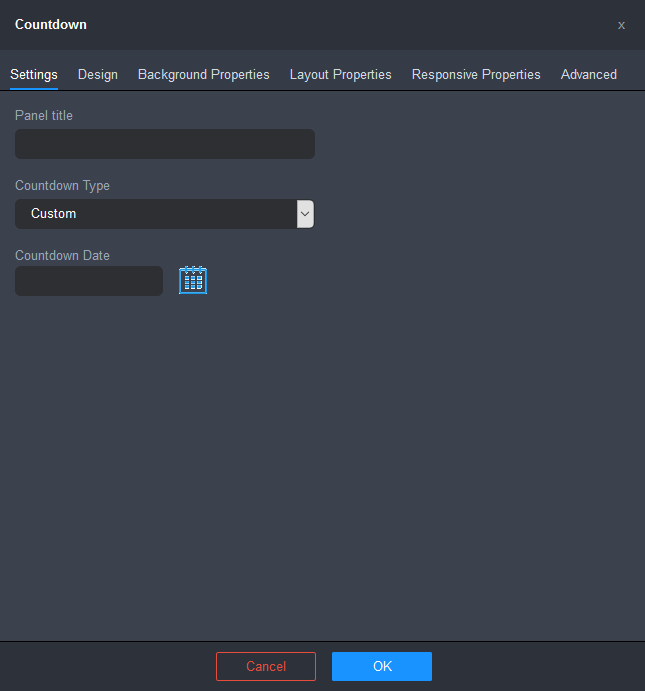
- Configure the settings for the Countdown Widget.
- Panel title: Enter a title for the Countdown clock.
- Countdown Type: Select a countdown type from the drop-down list.
- Custom: lets you set a custom countdown date for the countdown clock.
- Open Store: will use the Store Open Date as the countdown date, if set.
- Close Store: will use the Store Close Date as the countdown date, if set. (Set the Store Close Date via website store-level settings > Store Configuration > Close Store Options. When a Store Close Date is set, it will be used as the default countdown date).
- Countdown Date: Click on the calendar icon to select the date you want to count down to.
- Configure the Design settings for the Countdown Widget. Click here for instructions.
- Click OK to apply the changes.
- Click on the Save button and then click on the Publish button at the right of the Page Settings Bar.
To edit the Design settings for the Countdown Widget:
- Mouse over the widget.
The widget's controls will be displayed.
- Click on the down arrow beside the Countdown Widget icon.
- Choose the Countdown Settings item from the drop-down menu.
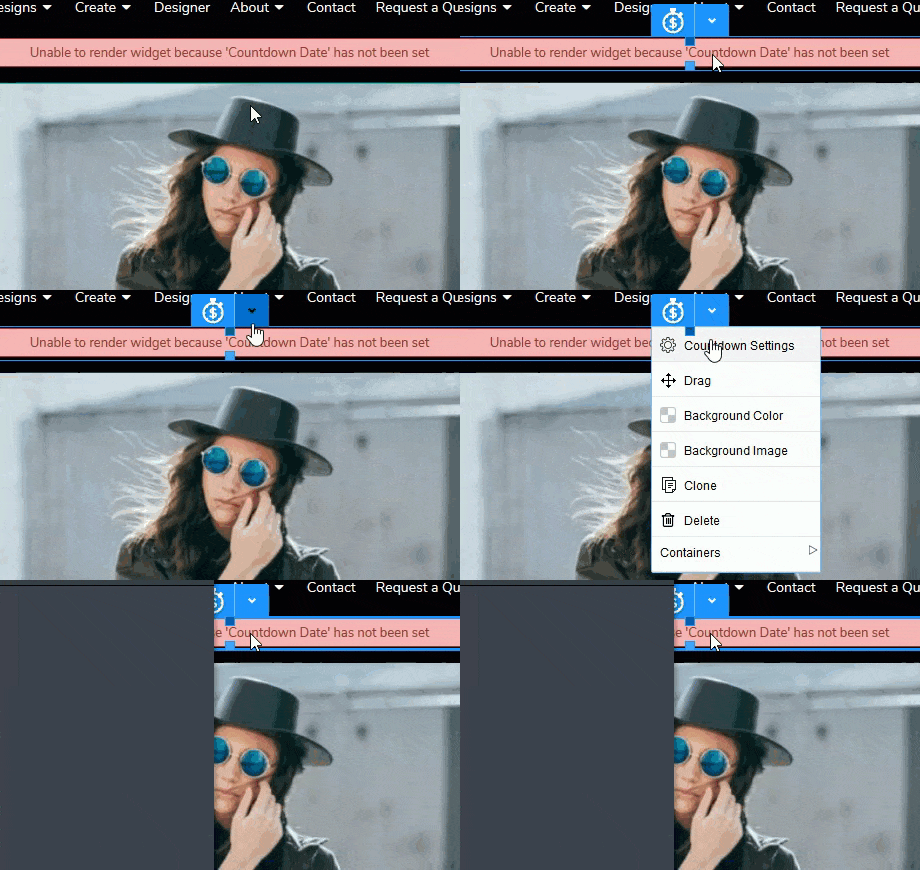
The Countdown settings popup will be displayed.
- Click on the Design tab.
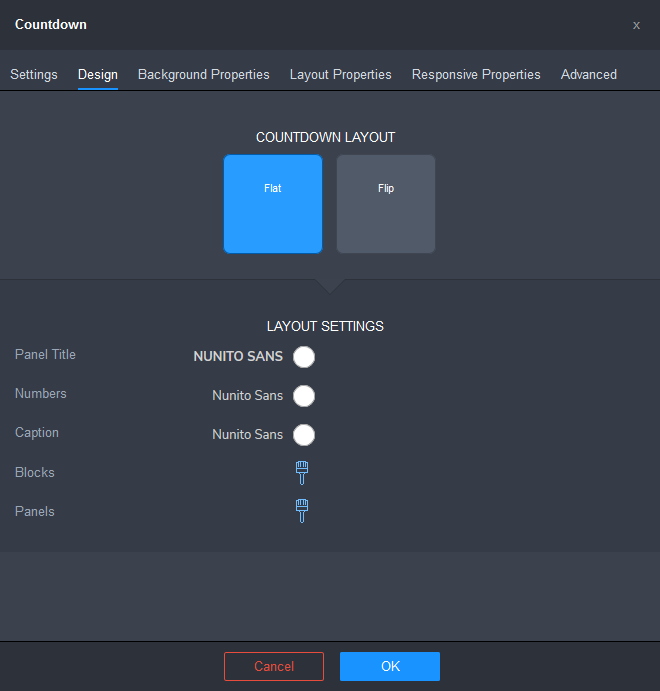
- Choose a Countdown Layout.
- Flat

- Flip

- Flat
- Configure the design options for the Countdown Widget.
- Panel Title: lets you configure the countdown title's font style and color.
- Click on the font name to configure the font style using the Font popup. Click here for instructions.
- Click on the color spot to choose a text color using the Color popup. Click here for instructions.
- Numbers: lets you configure the font style and color of the countdown numbers.
- Click on the font name to configure the link font style using the Font popup. Click here for instructions.
- Click on the color spot to choose a text color for the link using the Color popup. Click here for instructions.
- Caption: lets you configure the font style and color of the countdown caption.
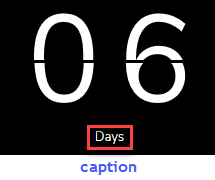
- Click on the font name to configure the link font style using the Font popup. Click here for instructions.
- Click on the color spot to choose a text color for the link using the Color popup. Click here for instructions.
- Blocks lets you configure the settings of the countdown unit blocks. Click on the brush icon to access the settings. The settings will differ depending on the layout chosen.
- Flat Layout Settings
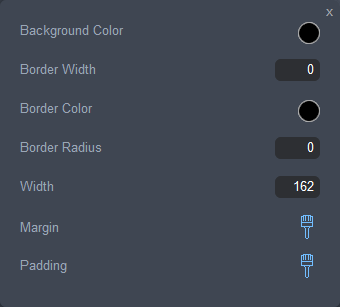
- Background Color: lets you specify the background color of each unit block.
- Border Width: lets you specify the border width of each unit block.
- Border Color: lets you specify the border color of each unit block
- Width: lets you specify the width of each unit block.
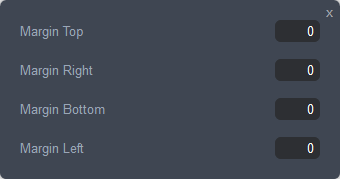
- Margin: lets you specify the margin settings for each unit block. Click on the brush icon to access the margin settings.
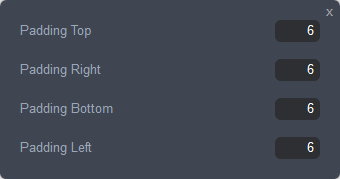
- Padding: lets you specify the padding settings for each unit block. Click on the brush icon to access the padding settings.
- Flip Layout Settings
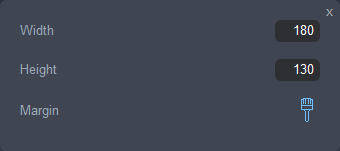
- Width: lets you specify the width of each unit block.
- Height: lets you specify the height of each unit block.
- Margin: lets you specify the margin settings for each unit block. Click on the brush icon to access the margin settings.

- Flat Layout Settings
- Panels lets you configure the settings of the countdown digit panels. Click on the brush icon to access the settings.
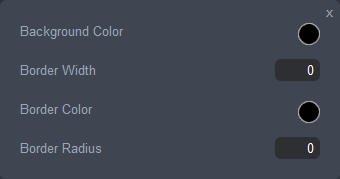
- Background Color: lets you specify the background fill color of each digit panel.
- Border Width: lets you specify the border width of each digit panel.
- Border Color: lets you specify the border color of each digit panel.
- Border Radius: lets you specify the border radius of each digit panel.
The following images illustrate the blocks and panels areas for each of the Countdown Layouts
Flat Layout
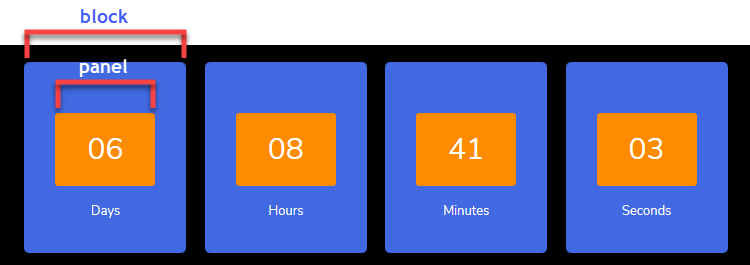
Flip Layout

- Panel Title: lets you configure the countdown title's font style and color.
- Click OK, once you have finished configuring the settings.
- Click on the Save button and then click on the Publish button at the right of the Page Settings Bar.
Comments
0 comments
Please sign in to leave a comment.