In this tutorial, we will guide you through the step-by-step process of manually creating a purchase order in Business Hub. In business operations, managing inventory efficiently is crucial for ensuring smooth operations and meeting customer demand. DecoNetwork offers a powerful feature that allows you to manually create purchase orders directly from the Purchase Orders page in Business Hub, independent of any associated sales orders. This capability is particularly useful when ordering items to maintain stock levels rather than fulfilling specific sales orders.
Additionally, DecoNetwork provides a flexible setting that automates the assignment of ordered items to inventory. This setting allows you to automatically allocate items ordered for inventory to existing sales orders that lack sufficient stock and to assign items on order as inventory to new sales orders. You can configure this automation under Admin > Settings > Purchase Order Settings. For detailed instructions on setting up and understanding this feature, refer to the Purchase Order Settings help article.
Prerequisites
- You must have Administrator and/or Purchasing permission to use this feature.
To manually create a purchase order:
- Log into your DecoNetwork website.
- Browse to Business Hub > Purchase Orders.
There is an indication at the top of the page of the total number of items requiring purchase orders. If the items are supplied by different vendors, the system will list the vendors you need to order from, along with the number of items required from each vendor.
- Click on the Start With Empty Purchase Order button.
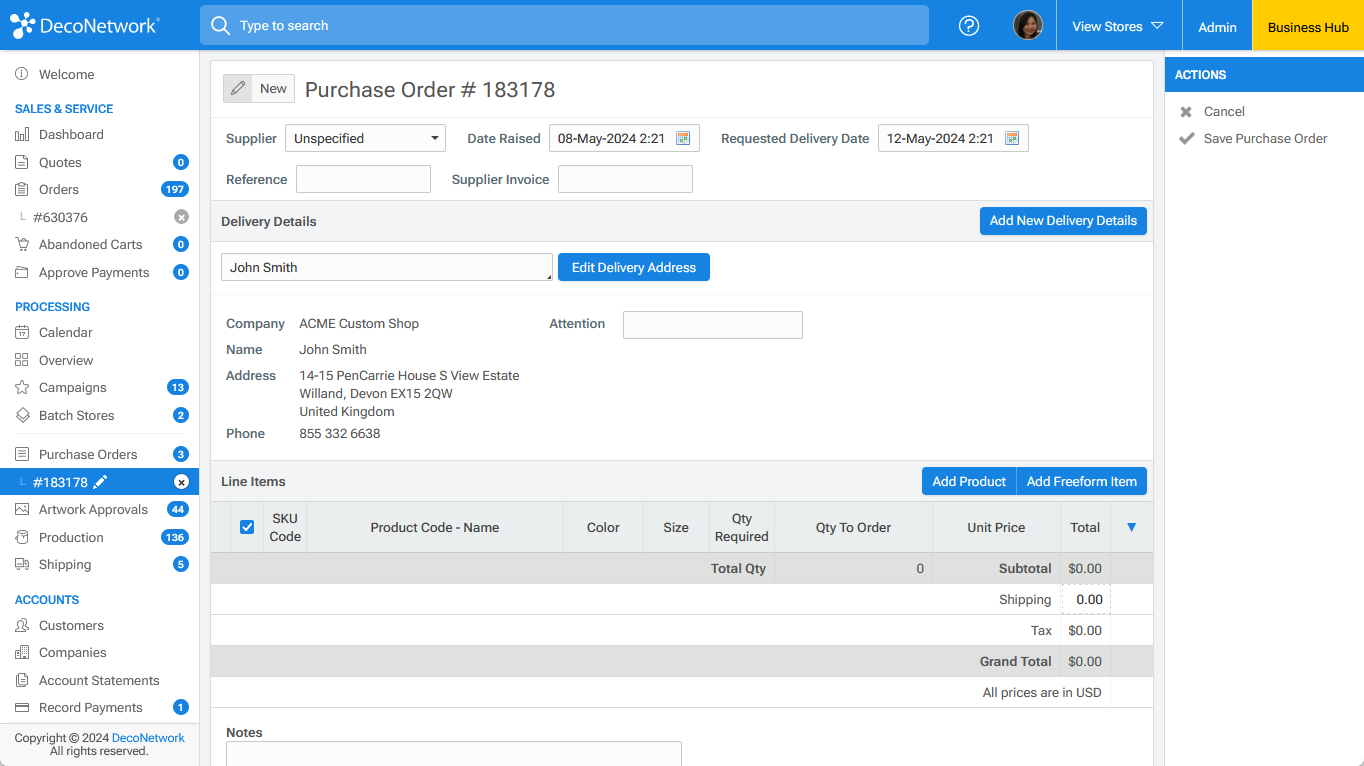
An empty purchase order form is generated.
The delivery recipient and address details will be automatically populated using the details specified under the DecoNetwork Account Settings.
You can click on the Edit Delivery Address button to change the delivery address.
The Edit delivery details popup will be displayed.
Tick the Default Address checkbox if you want to set the specified address as the default. The address specified will be used as the default delivery address every time you create a purchase order.
You can click on the delivery recipient box to select a different recipient from the dropdown list. You can click on the Add New Delivery Details button to specify and new delivery recipient and address.
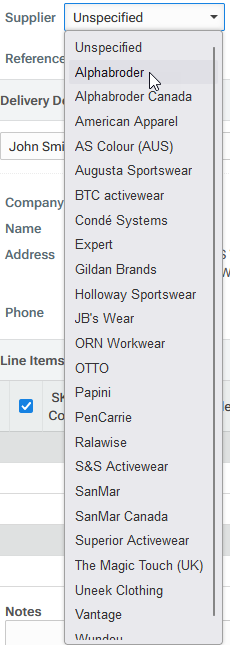
- Select a supplier from the Supplier dropdown list.

If the supplier supports SmartPO Integration but it is not enabled, a banner will be displayed on the purchase order form indicating this. Enabling SmartPO Integration allows your system to check stock availability, generate purchase orders instantly, and email them directly to the supplier for fulfillment from the Business Hub.
If you have access permission (Administrator or Products Manager), you will be able to click on the Manage Suppler button to go to the setting to enable SmartPO integration.
If the supplier supports SmartPO Integration and it is enabled and correctly set up, a "Use SmartPO Integration" checkbox will appear in the purchase order form. It will be ticked by default. You can un-tick it before saving to disableSmartPO Integration for the purchase order.
Enable SmartPO Integration by going to Products > Supplier Account Details > Edit Supplier.
When raising a purchase order with SmartPO Integration enabled, the system automatically performs a stock check each time line new line item quantities are specified. If the stock levels for any item are insufficient, several actions will occur:
-
SmartPO Integration Option: The "Use SmartPO Integration" checkbox will be automatically deselected.
-
Prompt Notification: A prompt will be displayed at the top of the page, advising you to either deselect out-of-stock items or adjust the SmartPO options to enable SmartPO Integration.
-
Warning Indicators: A warning label will appear beside any line items that are out of stock.
Please note that if you change the selected warehouse, the system will perform another stock check to ensure accuracy based on the new warehouse inventory.
- Add one or more products. You can add products in two different ways:
To add a new product using the product list:
- Click on the Add Product button.
- Click in the Product Code-Name field and select the required product from the dropdown list.
The product is added as a line item on the purchase order. Color and Size fields are automatically populated with default values. The Unit Price field is automatically populated with a preset price.
You can type in the search field at the top of the list to filter the product list by product code or product name.
- Select a color, select a size, and enter a quantity in the Qty To Order field.
The value in the Total field will be calculated automatically.
To add a freeform product:
- Click on the Add Freeform Item button.
A line item with blank fields is added.
- Click in each field of the line item to enter values in the SKU Code, Product Code - Name, Color, Size, Qty To Order, and Unit Price fields.
The value in the Total field will be calculated automatically.
- Optionally, add a note for one or more SKUs.
- Click on the cog icon at the left of a line item. A menu will appear.
- Click on the create line item note link.
The Add Line Item Note popup will be displayed.
- Enter a note.
- Click Okay.
When a note has been created against a line item, a note icon will appear in front of the SKU code. Hover the mouse pointer over the note icon to see the note.
Notes will appear below each line item in the purchase order PDF.
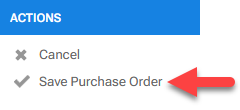
- Click on Save Purchase Order.
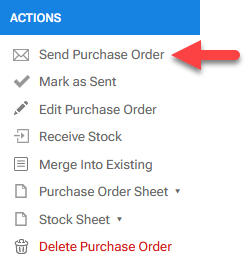
- Click Send Purchase Order to send the purchase order to the supplier.
The Send Purchase Order action will not be available if the supplier account details have not been set up and there is no email address associated with the supplier.
Go to Products > Supplier Account Details > Edit Supplier to set up the supplier account details.
- Select the method for sending the purchase order.
-
SmartPO Direct Send: Send purchase order directly to the supplier's ordering system
-
Email: Send purchase order via email
The SmartPO Direct Send option will not be available if SmartPO Integration is not supported or if it is not enabled for the selected supplier.
- Click send.
If you have SmartPO Integration set up, a Supplier Tracking number is returned from the SmartPO system after the purchase order has been successfully sent. To view the Supplier Tracking number, open the purchase order and download the Purchase Order PDF.


Comments
0 comments
Please sign in to leave a comment.