
Products that appear on your website will be organized according to how they are organized in your product list. You have control over what category manually added products are assigned to. While all catalog products are assigned a category as they are entered into DecoNetwork via a catalog automatically, you will also be able to rearrange their category to better suit your business.
Watch the following video to see how to organize products into categories. Read below for written instructions.
Prerequisites
- You must have administrator access to use this feature
To organize products into categories:
- Log into your DecoNetwork Website.
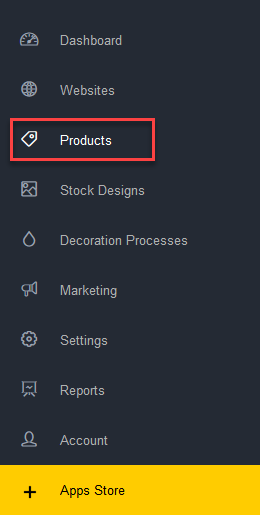
- Browse to Admin > Products.

- Select a product to configure by either:
- Clicking on the product code.
- Clicking on the product name.
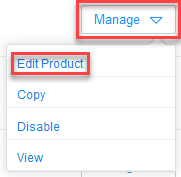
- Clicking on the Manage button beside the product you want to configure, then selecting Edit Product.
The product properties will be shown in the main work area, with a menu at the left to select property categories. General will be selected by default.
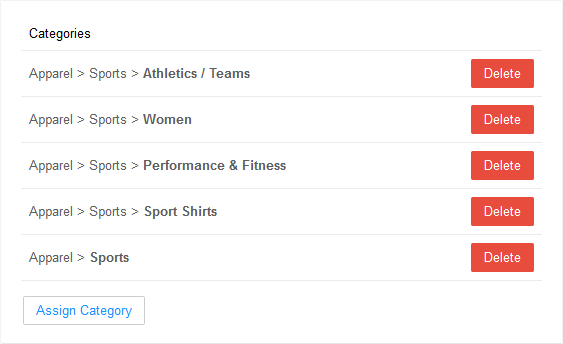
- Select Categories from the product properties menu.

The main work area contains the list of existing category assignments for the product.
- Configure the settings as required.
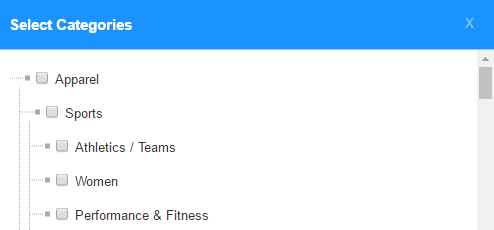
- The Assign Category button will let you assign a new category to the product, from the list of existing categories that have already been defined.
- As a product can belong to more than one category, you also have the option of removing the category from a product by pressing its corresponding Delete button.
- The Assign Category button will let you assign a new category to the product, from the list of existing categories that have already been defined.
- Click Save when done.
Comments
0 comments
Please sign in to leave a comment.