Let's say you are working with schools or sports teams and offering personalized jerseys with a name and number on the back along with shorts and socks as a bundle purchase. This would normally require each of these products to be set up as individual products in the system so that the customer can select the correct size for each item. A workaround to achieving this is to create a custom product that includes all three items.
Watch the following video to see how to create a bundle of multiple products for sale. Read below for written instructions.
Prerequisites
- You must have administrator access to use this feature
To create a custom product bundle
- Log into your DecoNetwork Website.
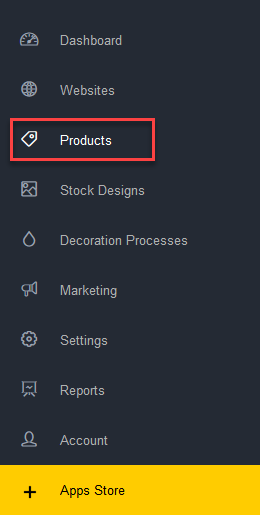
- Browse to Admin > Products.


- Click Add Product, then select Add Custom Product.

The main work area contains the settings for configuring a new custom product:
Click the image to enlarge.
- Product Group - select a product group from the dropdown menu. Product groups allow you to set default behaviors for groups of products. They save you from having to configure common settings for products individually.
- Product name - give your product a name, e.g. Jersey Bundle.
- Product code - if you use a code to store and record your product, enter it here.
- Number of colors is the number of color areas that can be changed on the product.
- When ready, click Save.
Once the basic product identifier information is entered, the next task will be to specify views of the product that appear in the online store and in the designer.
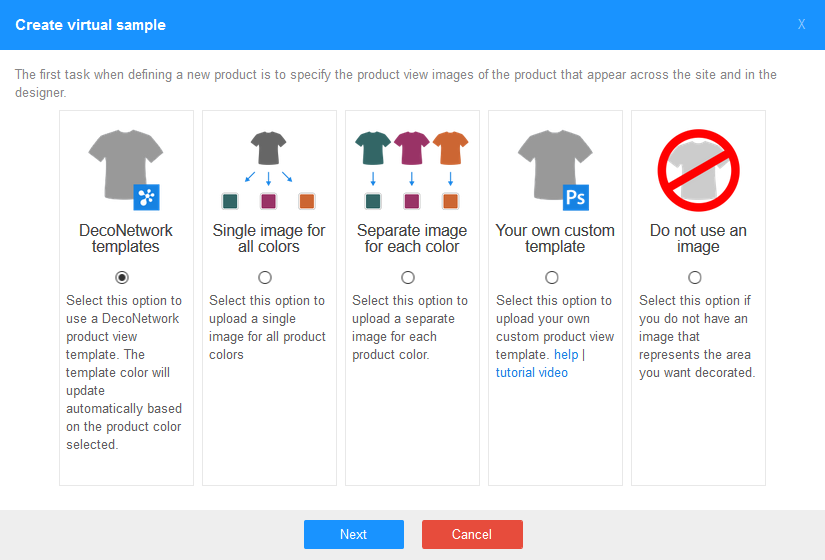
- Select a product view option:

- DecoNetwork Templates - use an existing template image, which will have colors that update according to color selections users make.
- Single image for all colors - upload an image that will represent all product colors and cannot change to reflect the user's selection.
- Separate image for each color - if you cannot make a PSD template, consider this option which is to have a separate image for each available color the product is available in.
- Your own custom template - upload your own custom template. (For instructions on how to create your own custom template, see the How Do I... Create a Custom Product Image Template with dynamic recoloring help article).
- Do not use an image - choose this option if an image is not available or cannot be sourced.
For the bundle, we will select Single image for all colors.
- Upload an image that contains all of the products in your bundle.
Your bundle image may look something like the following.
The Manage Product View popup will be displayed.
- Enter a name for the view, e.g. Jersey Gear.
- Click OK.
- Select the color for the view.
- Click OK.
You will now be taken to the regular product configuration page with the data you have entered already in place. Although the product is in DecoNetwork, it is not yet configured. At a minimum, it will need pricing if you wish to make the item saleable. Pricing is located in the inner menu of your product view.
Ultimately, the amount of information you enter into the product is up to you. For more information, see the Products Overview article for details of all available configuration options.
Since we are creating a bundle, the customer may need a different size for each item in the bundle. Custom products only allow you to select a single size, so we need to turn off sizing for the bundle. We will use Custom Fields to define the sizes instead.
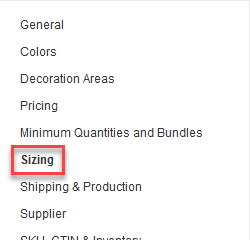
- Select Sizing from the product properties menu.

The Sizing screen is displayed in the main work area.
- Select the Define my own sizes option.
- Click on the cog icon and untick the Size Field is On checkbox.
- Select Custom fields from the product properties menu.
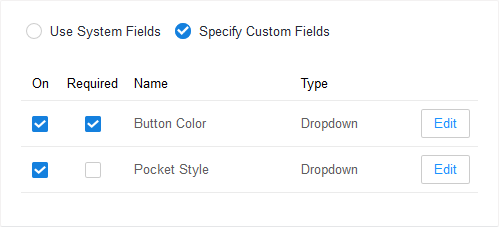
The Custom Fields screen will be displayed in the main work area.
- Select the Specify Custom Fields option.

- Click Save,
- Browse to Admin > Products > Custom fields.
- Create 5 custom fields.
E.g. Shirt Size, Shorts Size, Socks Size, Player Name, Player Number.
Read the Creating and Configuring Custom Fields for Products article for instructions on how to create custom fields.
- Return to the Custom Fields configuration screen of the Jersey Bundle product and assign the newly created custom fields by ticking the On checkbox.
- Click Save when done.
Comments
2 comments
How does this work on the back end with making a PO. Is there a way to bundle the existing products so it assigns the sizes and orders the correct garments
Hello Annette Werneburg, thank you for your question.
Unfortunately, automatic bundling and size assignment is not currently available as a native feature, which is why we recommended this workaround.
Please sign in to leave a comment.